
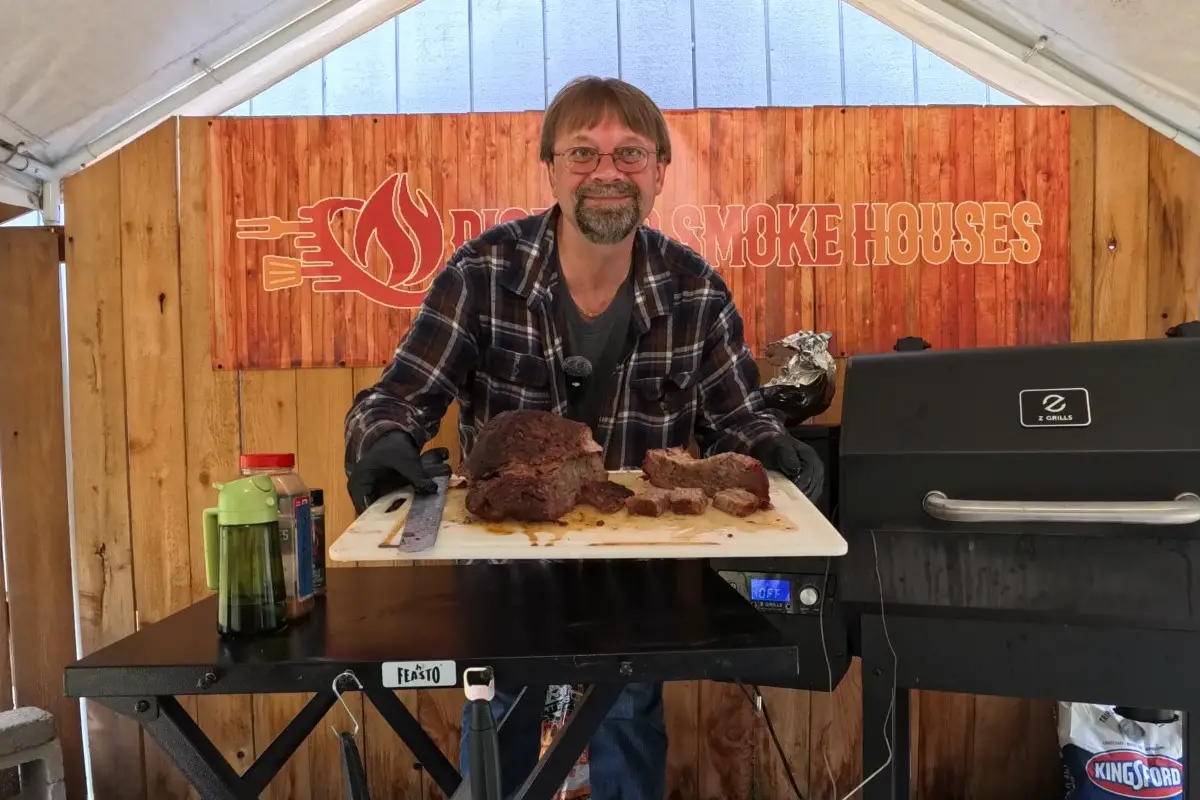
The Cost of a Bad Trim: If you treat your brisket point like a generic slab of meat, you’re inviting disaster. A poor trim can lead to unrendered fat that is simply unpleasant to eat; many guests will instinctively eat around the fat if it isn’t handled correctly. To avoid this and ensure every bite is palatable, you need to move beyond generic advice and implement professional-grade precision.
Note: most links in this article are Amazon.com Affiliate links, see Affiliate Disclosure, thank you.
Phase 1: The Freeze-Set (The Secret to Precision)
Most guides tell you to trim meat at room temperature. They are wrong. When meat is fresh and soft, it possesses a high degree of plasticity; your knife doesn’t actually cut through the fat—it “plows” it. This pushing effect makes it nearly impossible to maintain a consistent depth, resulting in jagged edges and uneven thickness.
The Method:
Place your brisket point in the freezer for 30 minutes. You are not looking to freeze the meat solid, but rather to achieve “structural rigidity.” Do not leave it in for an hour; instead, use short intervals. Put it in for 30 minutes, check it, and if it hasn’t firmed up sufficiently, return it for another 5 minutes.
The Finger-Poke Test:
Check the meat by poking it gently to feel the firmness, but be careful not to create a hole or a permanent indentation in the flesh. The sweet spot is when the meat feels firm and resistant—like a cold stick of butter—allowing your knife to glide with surgical accuracy.
Pro Tip for Even Cooking:
After trimming, you can let the brisket rest on the counter. However, the secret to a perfectly balanced cook is placing an ice pack specifically on the point side. Because the point is fattier and cooks faster than the dense flat, cooling down the point gives the flat a head start, evening out the cooking time across the entire brisket.
Phase 2: Tool Geometry (Choosing the Right Edge)
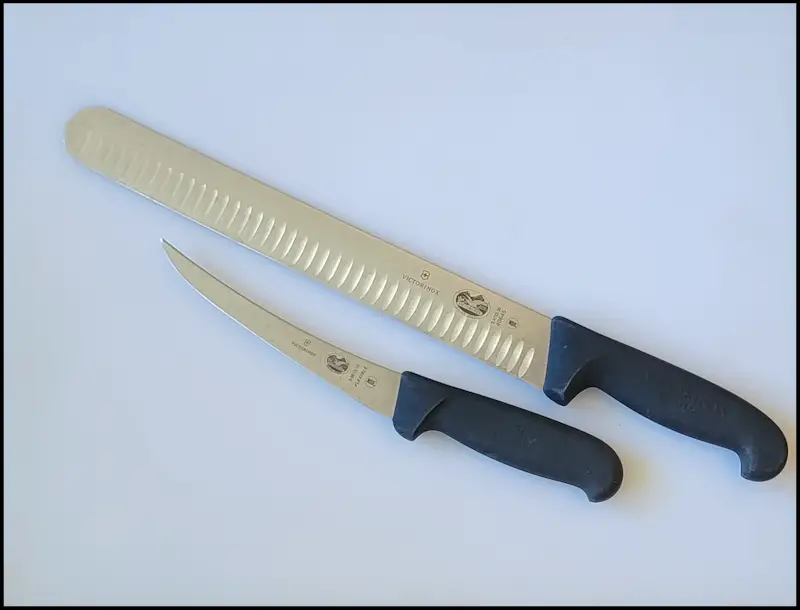
Using one knife for everything is an amateur mistake. Different tissues require different blade arcs to achieve a clean finish and maximize yield.
The Curved Boning Knife (The Excavator):
Use this to remove as much of the hard fat or deckle as possible. When taking a scoop out of the fat, be precise: do not over-excavate. If you leave a massive hole in the side of your brisket, you will create an uneven thermal zone that affects the overall cook. Hold the knife at a steep angle and use the arc to “scoop” the deckle fat efficiently without digging too deep into the muscle.
Check out the Victorinox Curved Boning Knife on Amazon.com
The Straight Edge / 12″ Slicing Knife (The Leveler):
A straight blade is essential for getting nice, level cuts and rounding out any sharp corners. This ensures a flat surface for even heat penetration.
Check out the Victorinox Fibrox 12″ Slicing Knife on Amazon.com
Quick Trim Method:
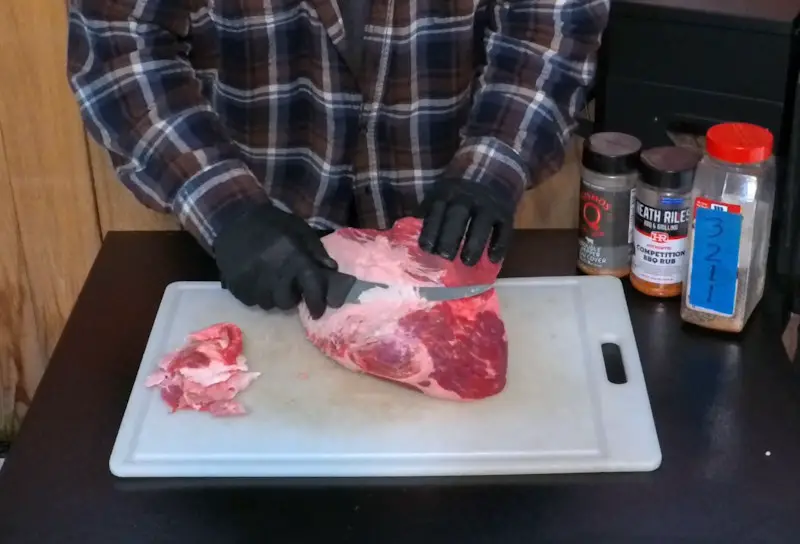
If you plan on saving trimmings for burgers or stew meat, use a large slicing knife to remove long flat pieces—especially where the silver skin is located—to make quick work of it. While this isn’t a precision process, it allows you to trim a large brisket evenly and quickly when the meat is destined for other uses.
Phase 3: The 1/16″ Rule (The Eating Experience)
The biggest mistake in trimming is leaving too much fat on top. While a thicker layer provides more insulation, the primary issue is palatability. If fat doesn’t render completely, it is simply not pleasant to eat.
The Standard:
Trim your fat cap down to exactly 1/16th of an inch.
Rendered Crust vs. Unrendered Tallow:
If you leave a quarter-inch layer, you risk ending up with “unrendered tallow”—a rubbery texture that tastes of raw grease. By sticking to the 1/16” rule, you achieve a “rendered crust.” This thin layer protects the meat from direct heat but renders completely into a crisp, mahogany-gold lacquer. If you are worried about the brisket being under-insulated, simply pull it slightly before it is done and increase the resting time; the results will be far superior.
[Image: 1/16″ fat cap final trim result – video screenshot]
Phase 4: Salt Chemistry & The Seasoning Window
When you season a brisket, you are triggering an osmotic process due to the salt in the seasoning mix. Timing is everything to avoid the “Middle Zone,” where moisture sits on the surface and steams the meat instead of forming a crispy bark.
The Strategic Timing Options:
- The Long Game (Dry Brine): Salt 24 hours in advance for deep core seasoning.
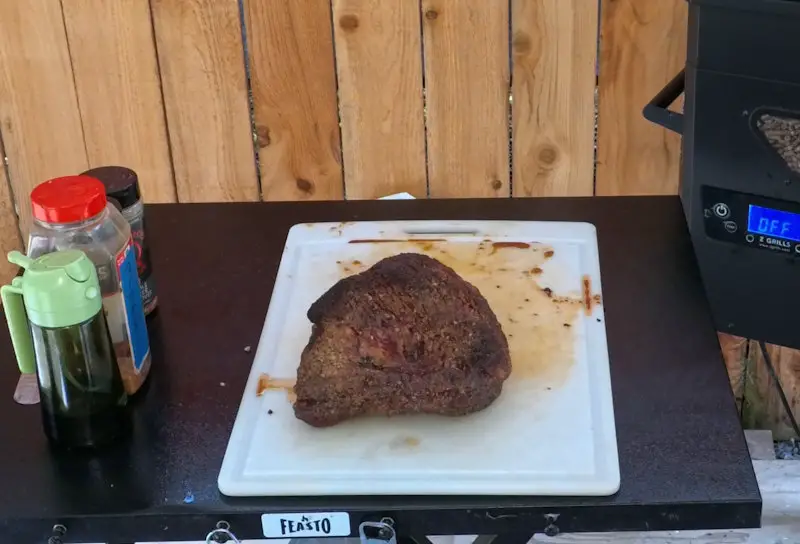
- The Sprint (My Favorite): After trimming and resting with an ice pack on the point (approx. 30 mins), ensure your smoker is completely stable in temperature. Place the brisket in a half-sheet pan or cookie sheet on the prep table next to the smoker. Heavily season the bottom, then lightly season the sides and top. Once the brisket is in the smoker, you can add additional seasoning to the top to make up for any that was knocked off or simply to achieve that perfect finish.
Check out the Half Baking Sheet Pan with Wire Rack on Amazon.com
[Image: Seasoning application on prepped point] (still shot from Robert’s video) - The Competition Layer: Apply a heavy base rub 24 hours early, followed by a light dusting 20 minutes before loading for intensified color.
Pro Tip for Seasoning Adhesion:
If your seasoning isn’t sticking as well as you’d like, use a fine mist of avocado oil on the surface after seasoning. This makes the rub moist and tacky, allowing more seasoning to adhere to the brisket.
Check out the 2 in 1 Olive Oil Sprayer Set on Amazon.com
Alternatively, if you prefer not to use oil, let the first layer of seasoning rest for about 10 minutes; it will “tack up,” allowing you to add additional layers immediately after placing the meat in the smoker. Once loaded, re-season the top slightly heavier on the point end to ensure the thicker meat has a balanced flavor profile.
Why the Z-Grills 10502B WiFi is a great option for Brisket Point:
The Z-Grill 10502B WiFi is an elite tool for mastering the brisket point because it eliminates the typical variables that lead to failure.
- Precision heat delivery: Direct, consistent airflow ensures the meat is enveloped in steady heat rather than hot spots. This is critical for achieving a professional mahogany bark without scorching the exterior.
- Stable temperature: The machine maintains a rock-solid thermal environment, preventing the fluctuations that cause unrendered fat. A stable temp allows the collagen to break down predictably and evenly across the point.
- WiFi control: Remote monitoring allows you to track core temperatures in real-time without opening the lid. This preserves the internal environment and ensures you hit your pull temperature with surgical accuracy.
- Clean burning: The efficient combustion process provides a pure smoke profile that enhances rather than overpowers the meat. It ensures the final product tastes of high-quality brisket, not ash or soot.
Ready to upgrade your setup?
Check out the Z-Grill 10502B WiFi here: ZGILLS.com-10502BWiFi
Summary: Mastering the Point Trim
Master the point trim and you control the bark; miss it, and you’ll spend the entire cook fighting grease and uneven heat. By utilizing a controlled freeze-set, precise tool geometry to remove deckle without over-excavating, and adhering to the 1/16″ rule for a better eating experience, you eliminate the variables of failure. When paired with a stable smoker temperature and strategic salt timing, you create a foundation for a world-class result on your Z-Grill 10502B WiFi.
Final Precision Checklist:
- [ ] Freeze-Set: 30 minutes + 5 min intervals (Confirmed via Finger-Poke Test).
- [ ] Rest Strategy: Ice pack on the point side to balance cooking times (gives flat a head start).
- [ ] Tool Selection: Curved for deckle removal (don’t over-scoop) → Straight for leveling/rounding corners.
- [ ] The Cut: Fat cap reduced to a strict 1/16″ for palatability.
- [ ] The Salt: Choose one: Long Game (24h), The Sprint (30m rest + stable smoker), or Competition Layering.
- [ ] Adhesion Check: Avocado oil mist after seasoning OR let rub rest 10 mins to “tack up.”
Next Step: Now that your point is prepped, move on to the Flat Brisket Trim Guide to ensure your entire brisket is balanced for a perfectly even cook.