

Who doesn’t enjoy having a BBQ in their backyard?
Americans have always enjoyed BBQs. A majority of them even prefer it to going to a restaurant. This is because BBQs are a great way to spend quality time with your friends and family for cheap.
However, typical propane smokers and charcoal smokers can be a hassle to work with at home. The process of getting them ready for smoking meats can take longer than most people would like. Electric smokers are a great alternative to solving this problem.
If you’ve never used an electric smoker before but would like to invest in one, this guide is for you! Learn how to use electric smokers below.
Note: most links in this article are Amazon.com Affiliate links, see Affiliate Disclosure, thank you.
What is an Electric Smoker?
Electric smokers are a less labor-intensive alternative to regular charcoal and propane smokers. They use electrical rods for the heating process. Like many propane smokers, most electric smokers are also vertically-aligned, almost like a mini fridge.
While charcoal and propane smokers require some type of fuel for heating, electric smokers can heat up via electrical elements only. Electric smokers also commonly have digital controls on them. Here are the components you will commonly find in an electric smoker:
- Electric heating metal rods
- Removable grill racks
- A woodchip tray
- A water pan
- Vents and dampers
The most popular electric smokers you will find in the market are listed below:
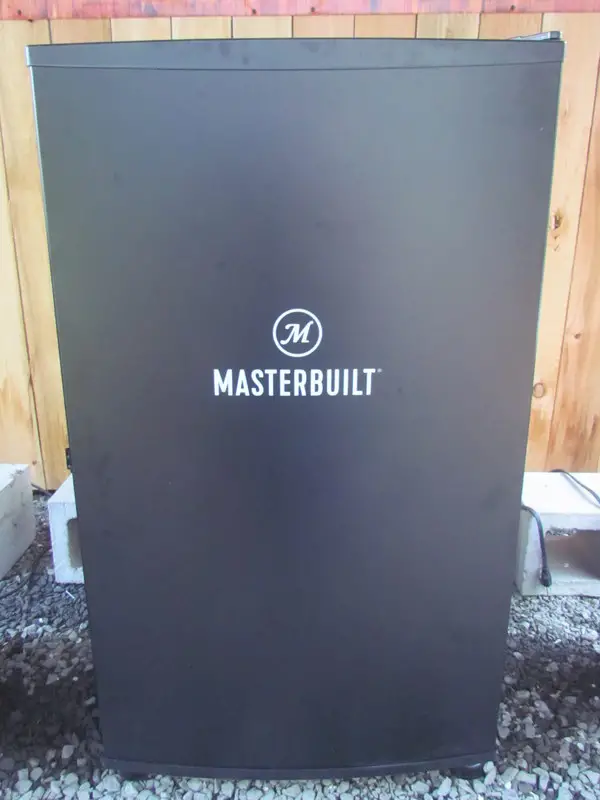
- Masterbuilt 30-Inch Digital Electric Smoker
- Big Chief Electric Smoker
- Bradley 4-Rack Electric Smoker
Using an Electric Smoker at Home – Steps
Electric smokers like the Masterbuilt Electric Smoker are designed for easy usage. A thorough reading of their instruction manuals can help you learn how to set them up. However, there are still some common mistakes first-time users make due to a lack of experience. Follow these steps to learn how to use electric smokers.
Step 1: Prepare the Smoker
First things first, you need to find a good place for your electric smoker. Place your smoker somewhere where the steam and smoke will not be a problem. Make sure you have a clean and unobstructed surface underneath the electric smoker. This will ensure efficiency.
Once you have made arrangements for your electric smoker, it’s time to start preparing it. Use the buttons on the smoker’s digital screen to turn it on. Then, set the cooking temperature and cooking time.
Step 2: Season Your Smoker
When you’re using an electric smoker for the first time, there is a high chance that it has accumulated some dust or debris inside. Getting rid of this debris is important for smoker efficiency and food hygiene. To do this, you have to “season” your electric smoker by spraying the inside of it with any cooking oil.
Then, you have to let the electric smoker run on its highest temperature setting (typically 250-275 °F) for at least 2 hours. Let it cool properly after this process is done before running your electric smoking again.
Step 3: Run the Smoker Again
After the seasoning process is done, you can start preparing your electric smoker for its actual function, smoking meats. Smoking meats is always a greasy process, so make sure to line the grease tray in your electric smoker with foil. This makes the cleanup process easier.
Step 4: Preheat the Smoker
An electric smoker, whether it’s a Masterbuilt Electric Smoker or a Big Chief Electric Smoker, always takes longer to preheat than other smokers. So, set at least half an hour aside for preheating. For most electric smokers, the temperature can be set to its highest setting while preheating.
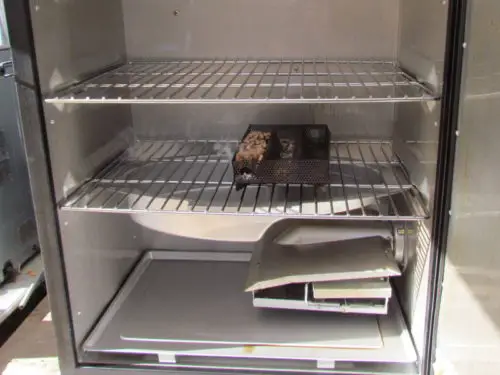
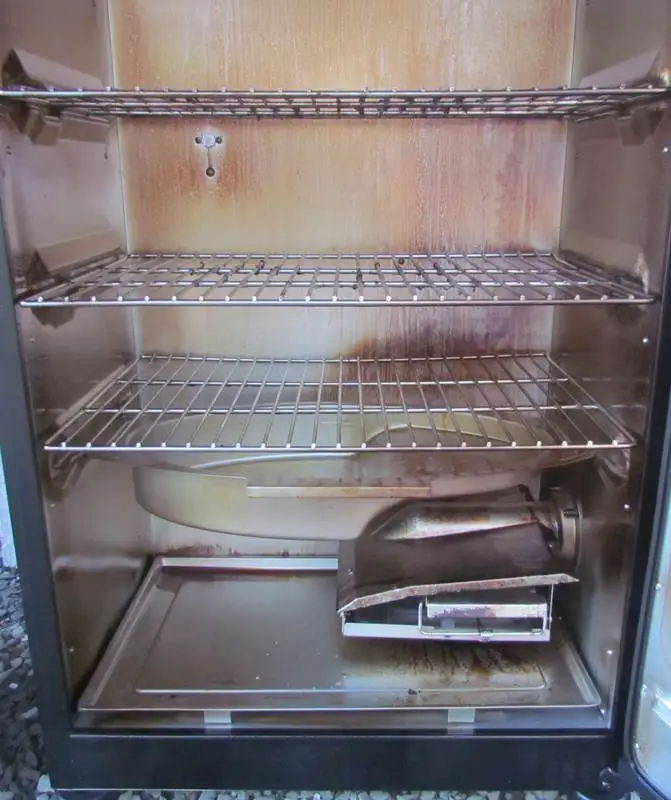
Step 5: Fill the Woodchip Tray
Electric heaters have an ingenious way of incorporating the wood-smoking element. Most of them come with retractable woodchip trays that you can simply pull out of their compartments.
Find your electric smoker’s woodchip tray and fill it with any woodchips you like. Remember, the chips will burn out within 3-5 hours. If you plan on using the electric smoker for longer than that, you have to keep refilling the woodchips.
Step 6: Add Water to the Pan
Before loading your meats for smoking, make sure to add water to its designated space in your electric smoker. There will likely be a water pan or chamber inside the electric smoker that can hold hot water. It will ideally be located at the bottom, under all the grill racks.
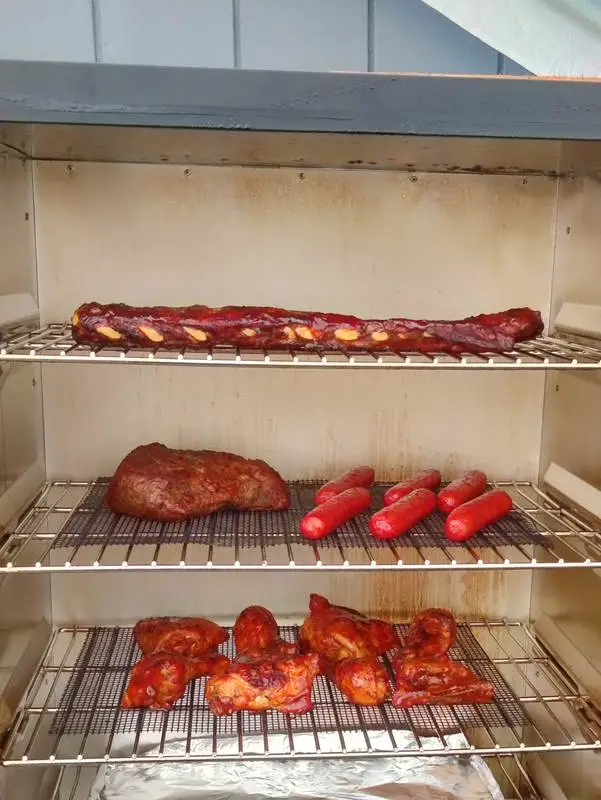
Step 7: Load Meat onto the Racks
Next, take your marinated meats and start loading them onto the grill racks inside your electric smoker. Due to preheating, the smoker will be steaming and the racks will be hot to the touch.
So, make sure to be careful during this process. The heat will likely be the highest towards the roof of your smoker, so arrange your cuts of meat accordingly.
Step 8: Checking the Temperature
It’s important to occasionally check the temperature of the meats while they are smoking. A good-quality electric smoker like the Bradley 4-Rack Electric Smoker will have built-in temperature probes.
However, many experts prefer using their own air probe thermometers instead for better accuracy.
Step 9: Set and Run the Smoker
Once you are satisfied with the cooking temperature inside the electric smoker, you can now set a timer on it. It could be helpful to set the timer a little over your estimated cooking time because the electric smoker shutting off too early can be a hassle.
Once that’s done, sit back and let the smoker do its thing.
Step 10: Rest Your Meat
Finally, check your smoked meats when the timer goes off and take them out if cooked properly. Put your meats aside to rest for a while and enjoy!
Want to Learn More about Electric Smokers?
If you need additional information about the best electric smokers in the market, head over to the Pioneer Smoke Houses website!
Our website is designed to help innovative meat lovers like you learn how to use electric smokers at home. You can find Masterbuilt Gas Smoker reviews, Weber Smoky Mountain Cooker reviews, and more in our ‘Learn’ section.
All our reviews are written by a highly experienced electric smoker expert. You can also head over to Amazon if you want to see updated prices for the smokers mentioned on our website. Amazon is currently offering a discount on the Masterbuilt Electric Digital Smoker, so click here to buy it!